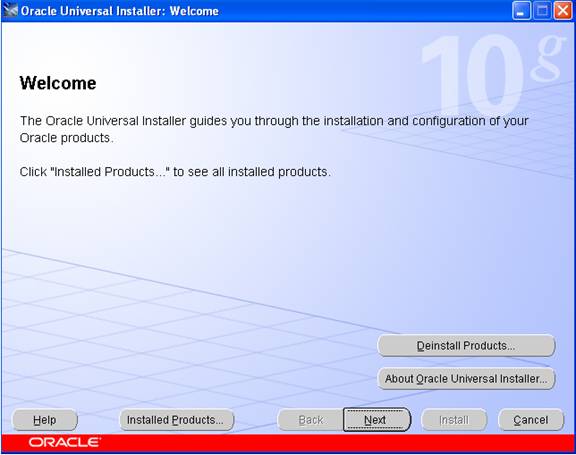
It is assumed that this is a fresh install so no other Oracle products should be installed at this time.

In this screen, the Source and Destination locations must be selected.
The Source path should reflect either your CD-ROM or the directory in which you unzipped the source files. Leave this as the default. In the example above, the source files were unzipped into c:\DOCUME~1HARI\LOCALS~1 emp\rar$ex12.1593\disk\s tage\product.xml.
For the Destination, leave the Oracle Home named oraDb10g_home1 as the default. Choose a hard disk drive that has at least 6 gigabytes of free space. In the example here, we are using the E: drive.
Leave the \Oracle\product\10.1.0\db_1 path as it is (the default). If you must change this to a different drive, only change the drive letter and not the directories.
Click on the Next button to select installation type. This may take up to 2 minutes (depending on the speed of your machine). Once the product information has been read, the following 3 “Available Products” options are presented:
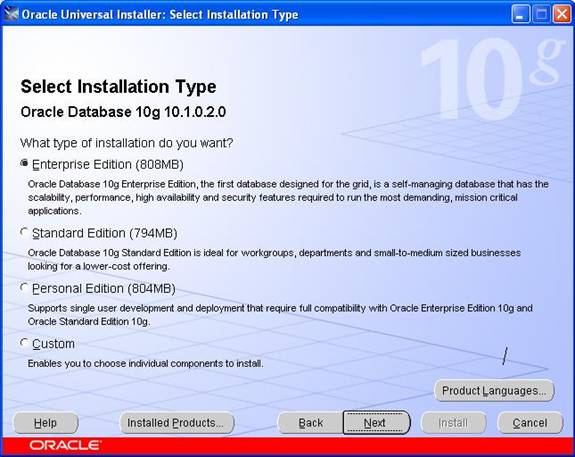
After selecting the type click on the next button to get the screen:
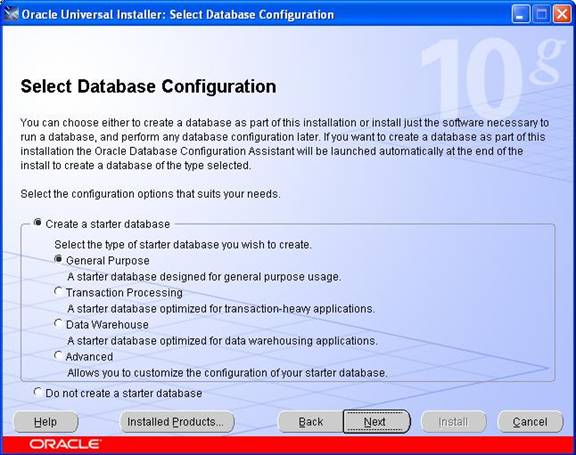
For this install, we chose the “General Purpose” Database option. Click on the Next button to continue.
The next step is to identify the database using the Global database name
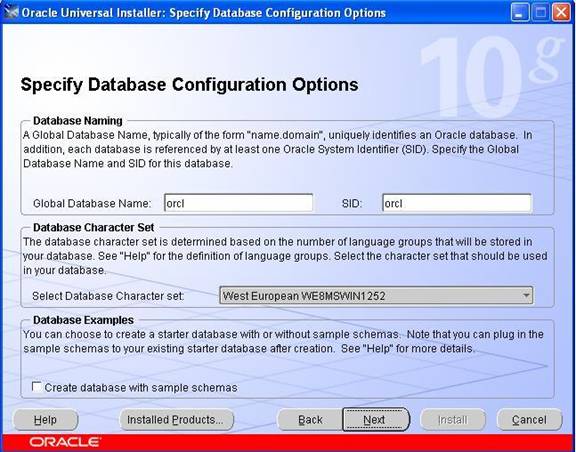
Keep the default names for GLOBAL and the SID Otherwise, use the following (make a [عزيزي الزائر يتوجب عليك التسجيل لمشاهدة الرابط للتسجيل اضغط هنا] of these for later on): Global Database Name is orcl, Oracle SID is orcl
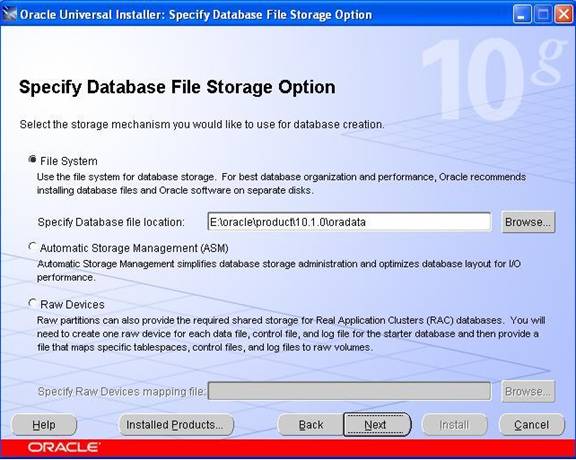
In this step, you need to [عزيزي الزائر يتوجب عليك التسجيل لمشاهدة الرابط للتسجيل اضغط هنا] where the Oracle data files will be located. In large operations, we typically keep the data files on a separate disk (or disks), however, for this install, keep the default storage
Click on the Next button to move to the “Summary” screen:
In this screen (shown above), the products and files that will be installed are summarized. Note that in this example, it will take 1.5 GB MB of disk space for the installation of the software. Additional space will be required for the default database.
During the install, you will notice various Oracle products being copied over to the [عزيزي الزائر يتوجب عليك التسجيل لمشاهدة الرابط للتسجيل اضغط هنا].
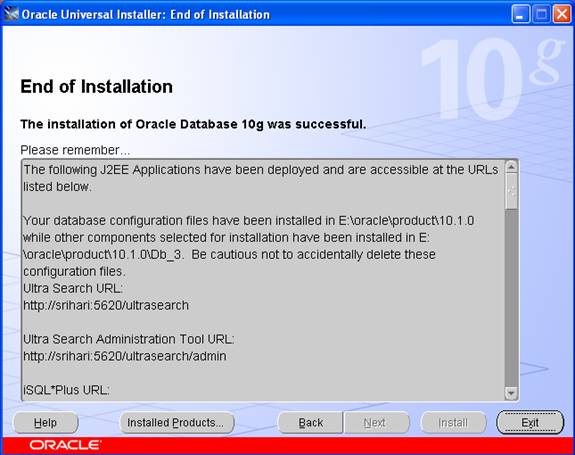
Once the installation is completed, the next step will be to configure the various additional services and the database.
The following tools will be automatically starts and it is optional. It is recommended, ***hough not required
Click on the next button .The Oracle Database Configuration Assistant will appear for some time while the default database is created and opened. As below
Click on the Password Management button and change the default passwords for the SYS, SYSTEM, SCOTT and DBSNMP accounts as shown below:
After completion of installation .reboot your computer.
To remove the Oracle products
click the button installed product. to see the installed products. you will see the screen as below
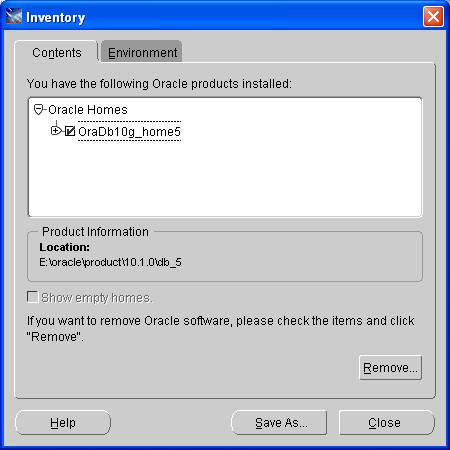
Click the button remove to remove the oracle products or you can remove directly on clicking deinstall product button in welcome page.
Testing Installation
Go to start menu - > programs - >oracle-oradb10g_home5 - >application [عزيزي الزائر يتوجب عليك التسجيل لمشاهدة الرابط للتسجيل اضغط هنا] -> click on the sql plus.
It will appears like the screen below, Once SQL Plus is running, you will be prompted for 3 things: Username, password and Host String.
[LEFT]Fill in the Username and password fields with the SYSTEM account and leave the Host String field blank. Since we are connecting to a local Oracle database, no Host String is required. Click on the OK button as shown below:
If the database is running and the username and password are typed correctly, SQL*Plus should log the SYSTEM user in and present the SQL> prompt as shown below [/left]
Uninstalling oracle 10g from Windows XP
First you have to remove all the oracle products by using oracle universal installer Go to start button -> programs -> oracle-oraDb10g_home1 -> oracle installation products -> click on the universal installer. You will get welcome screen, click on the deinstall products
To remove the oracle products. After uninstall the products. Now you have to remove all the remaining oracle products manually run this command regedit.exe. You will get registry editor.
Find [عزيزي الزائر يتوجب عليك التسجيل لمشاهدة الرابط للتسجيل اضغط هنا] to oracle by using ctrl+f and remove all you find related to oracle, Do this again and again until you get no search. After completing this, reboot your system
To overcome with that error you must delete every think related to oracle by using above uninstallation steps